

One of the questions I hear most often is: how is an icon actually made? What lies behind this multi-stage process, how much time, knowledge, and patience does it require? This question always delights me, because behind it stands something more than simple curiosity. Behind it stands an intuition that an icon is not merely a painting. That the art of icon painting is a path with its own beginning, its own stages, and its own inner logic. I want to tell you about it today.
.
Before One Touches the Brush
.
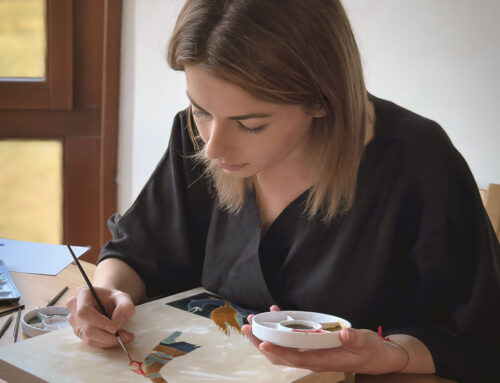
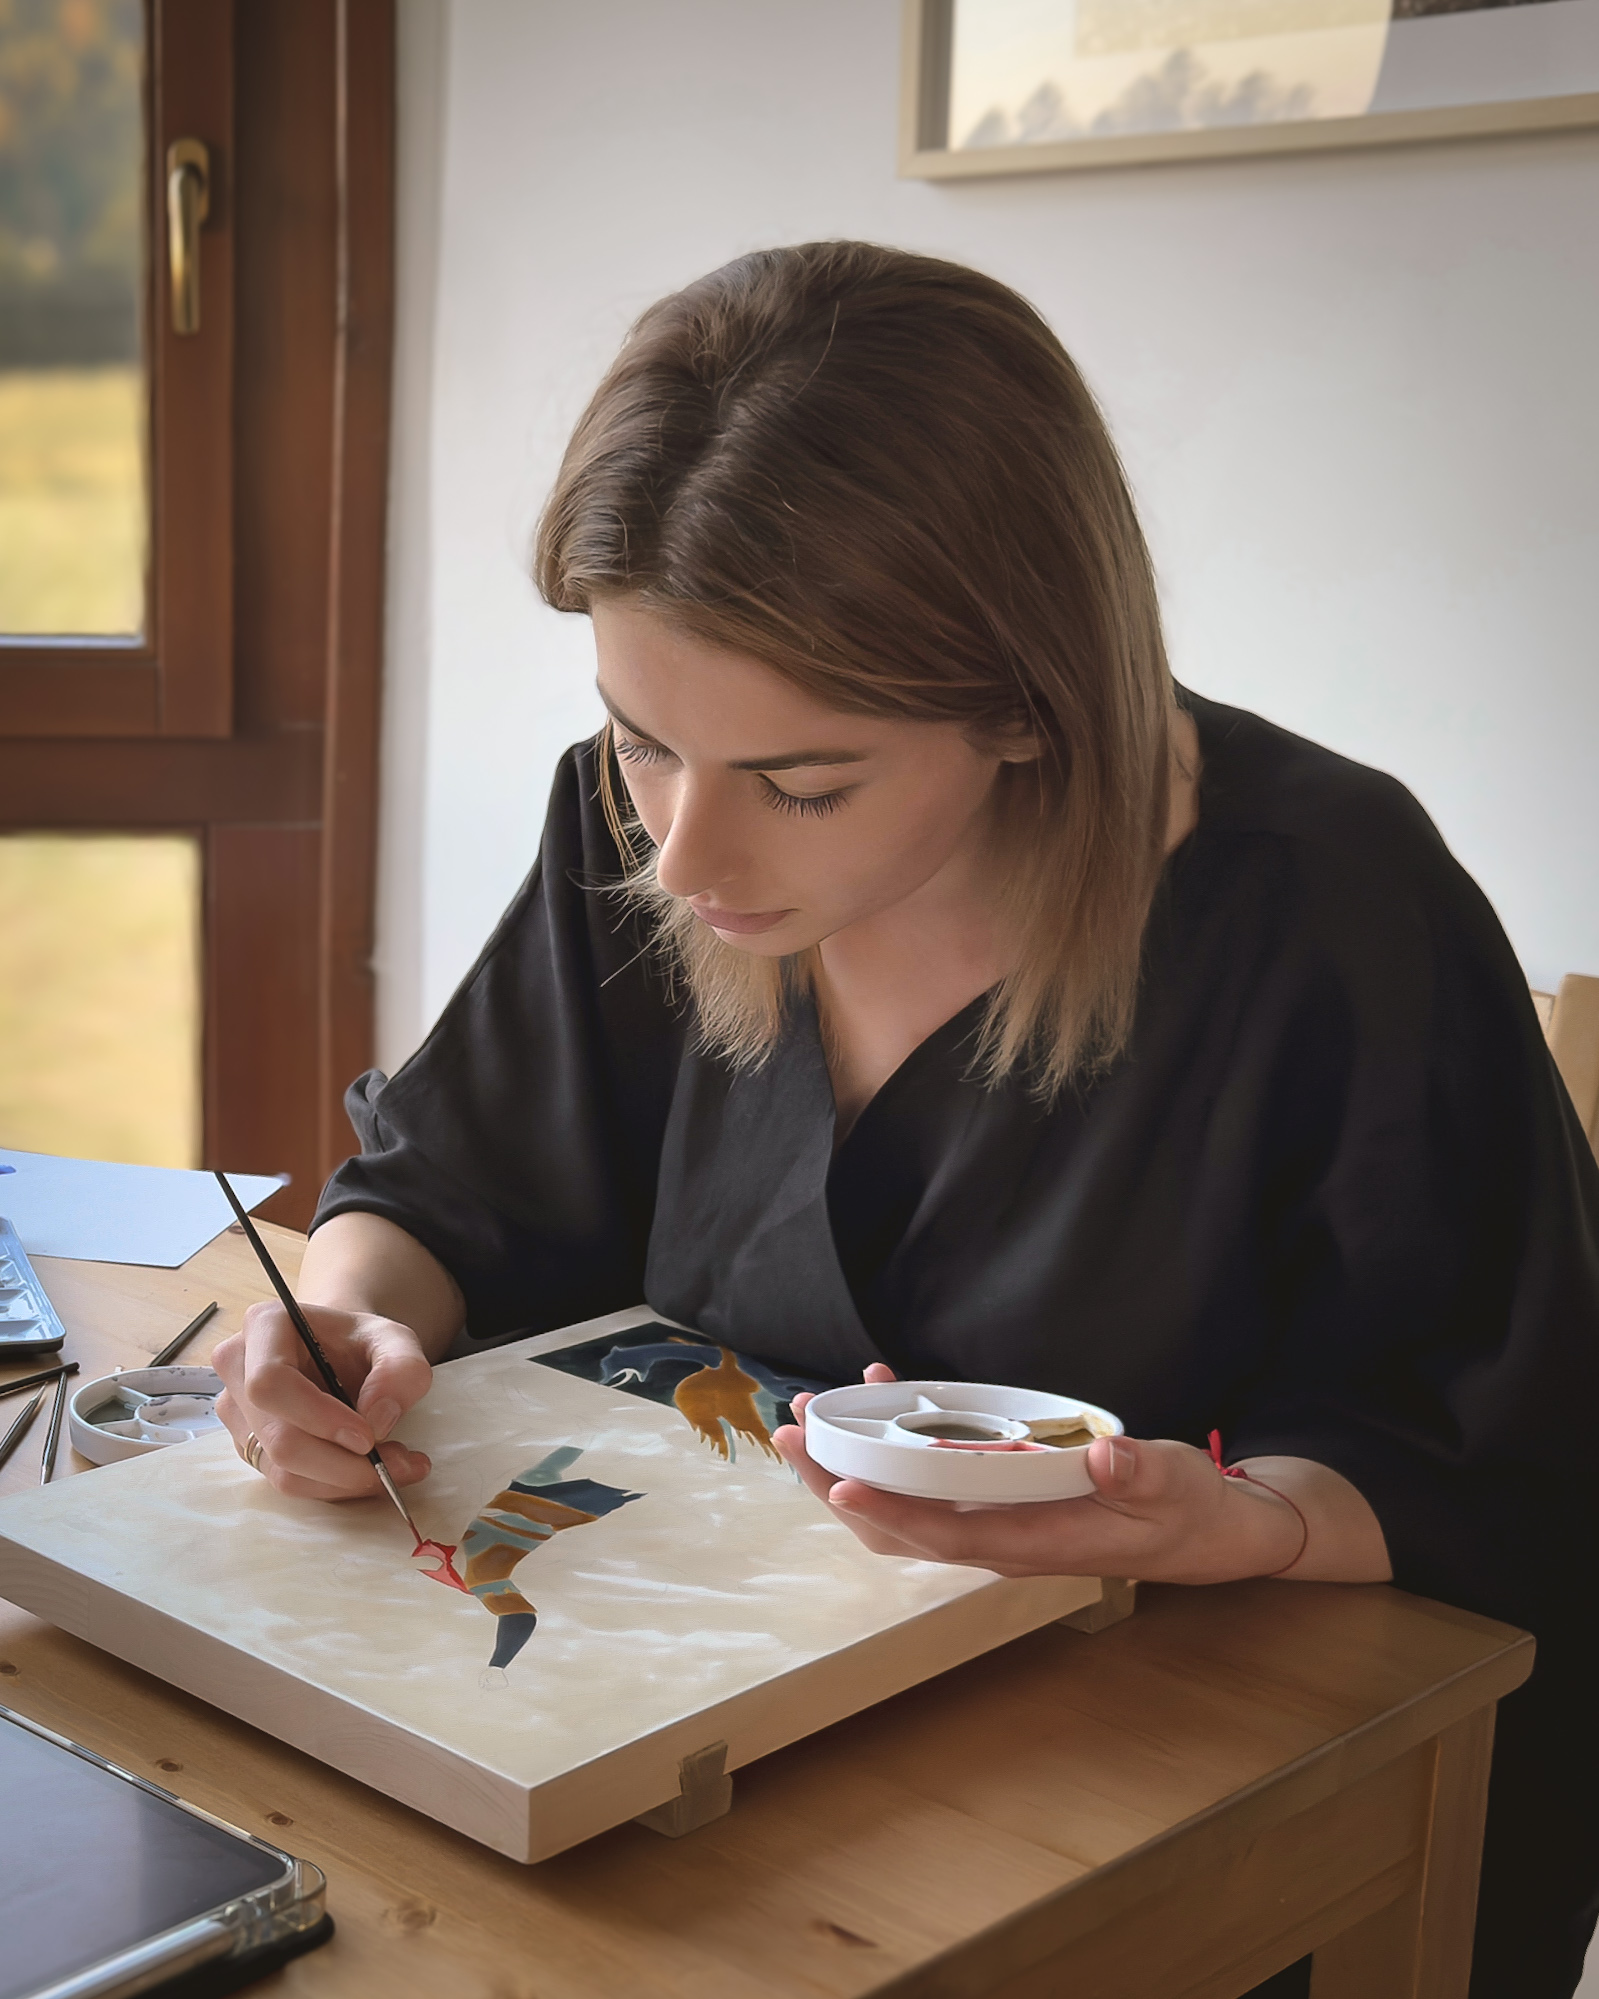
The art of icon painting is one of those disciplines in which the inner state of the artist holds particular, even fundamental significance. Before one touches a brush, before the first pigments appear on the palette, one must pause. Grow quiet. For me, this moment begins with prayer, with reading texts that help me descend deeper, with reflection on the figure whose face will soon emerge from the white surface of the board.
This may sound impractical, but experience teaches something very concrete. The energy with which an iconographer approaches the work permeates every stage of creation and remains in the finished piece. An icon painted in concentration and inner peace emanates a harmony that everyone who looks at it can feel. An icon created in haste, distraction, or frustration carries the trace of that chaos within it, even if it appears technically correct.
And this principle reaches far beyond the iconographer’s studio. In every area of life, what we do with intention and mindfulness bears different fruit than mechanical action. The way we speak, work, and touch the world shapes not only what we create, but ourselves as well.
In painting an icon, we discover that every gesture made with intention and full attention changes not only the image on the board, but the way we experience everyday life. The mindfulness we learn at the icon extends into our lives far beyond the studio.
.
The Board as Foundation
.
The traditional ground for an icon is not canvas, but wood. In Poland, we most often reach for pine or linden, which combine lightness with durability and good availability. Most boards are fitted with shponki, cross-battens made of harder wood that prevent the ground from warping over time and under the influence of moisture.
Preparing the board is a process in itself. We size the well-dried surface with a low-concentration glue solution, then adhere a thin cotton cloth or gauze to it, which reinforces the structure of the ground. Then comes the time for levkas, a mixture of water, chalk, and animal glue (traditionally rabbit skin glue). We apply it layer by layer, patiently waiting for each one to dry. Levkas creates a perfectly smooth, white surface that will not only receive paint, but will make the icon’s colours luminous and pure. The white ground carries its own symbolic meaning, too. It is like a pure intention from which everything begins.
After the final layer has dried, we carefully sand the levkas with progressively finer grades of sandpaper, until the surface becomes smooth as porcelain.
.
The Drawing and Its Transfer
.
When the ground is ready, we begin sketching. In icons, nothing is accidental. Every line, every gesture, every proportion carries meaning shaped by centuries of tradition. We draw with fine pencils, precisely marking out the composition, searching not only for form, but for that invisible space that will soon become a window to something greater than the image itself.
When the drawing on paper is complete, we transfer it to the board using special tracing paper and pencil. There are several methods for this transfer. Some iconographers use rubbed pigment or charcoal, others work with a stylus. I also know those who draw directly on the board, though I advise beginners against this path. Tracing paper gives far greater control over precision and helps avoid costly mistakes at a stage when the ground is already prepared.
.
Gilding
.
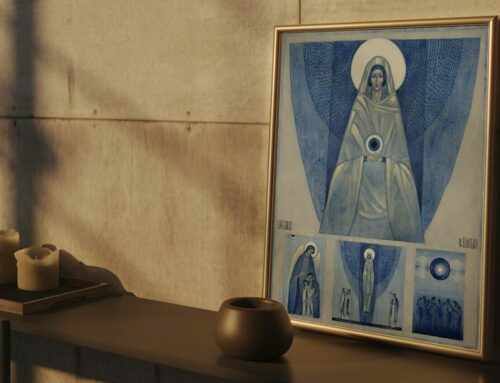
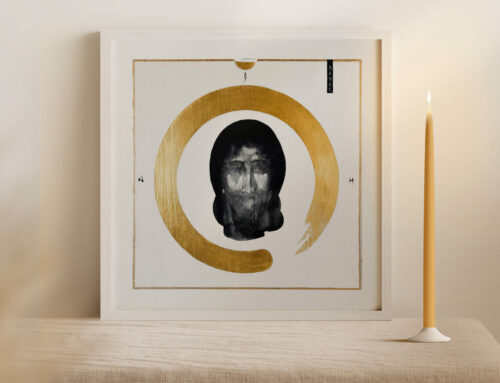
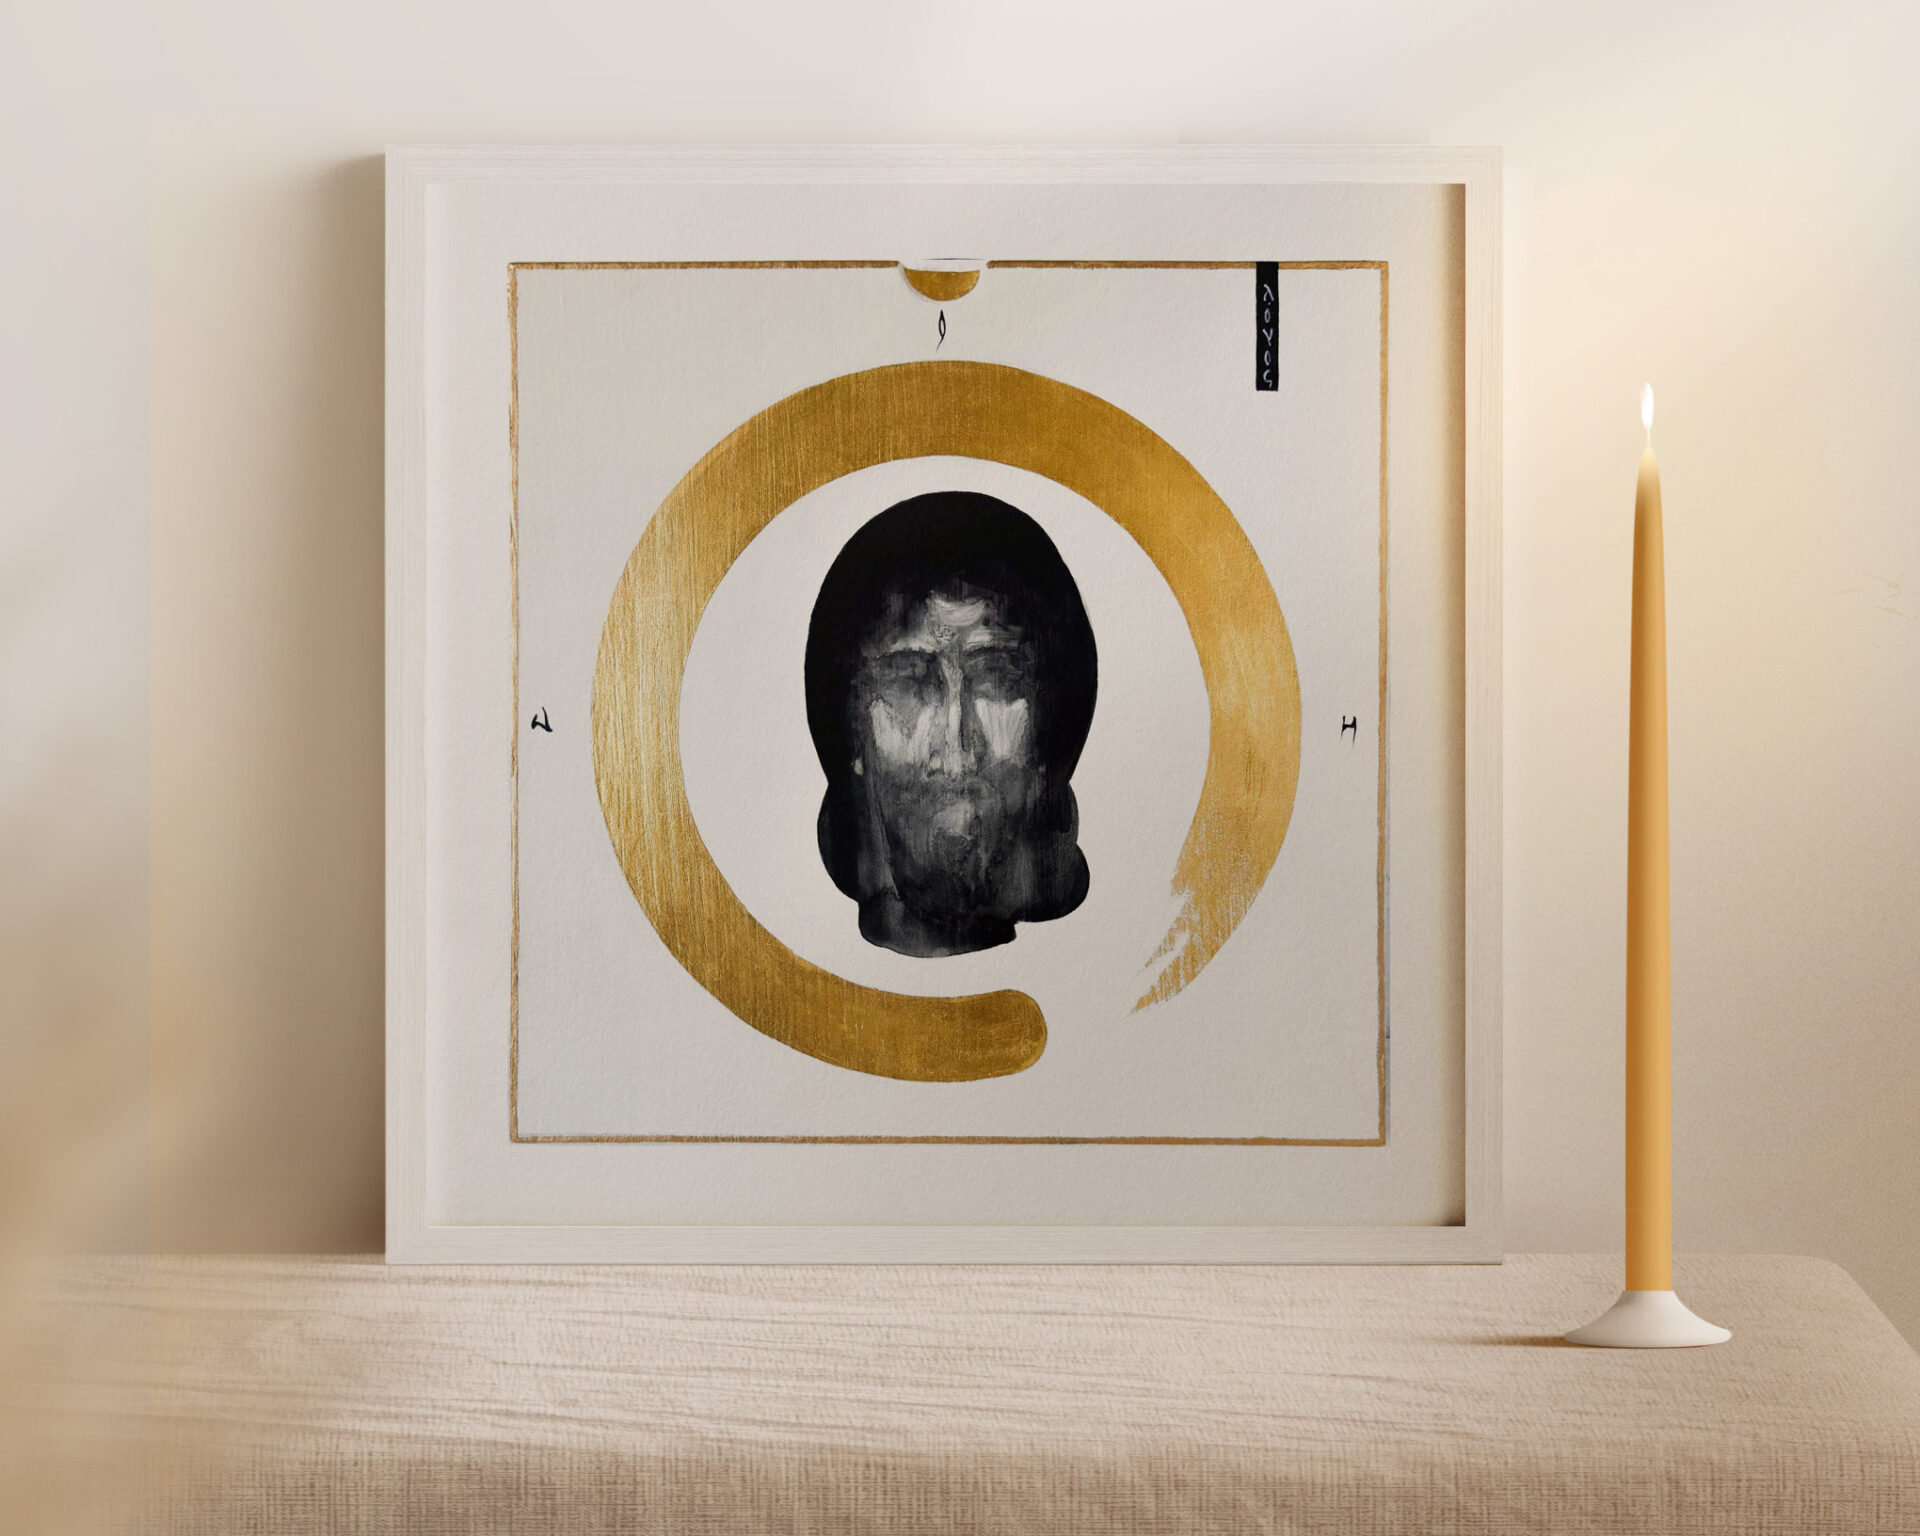
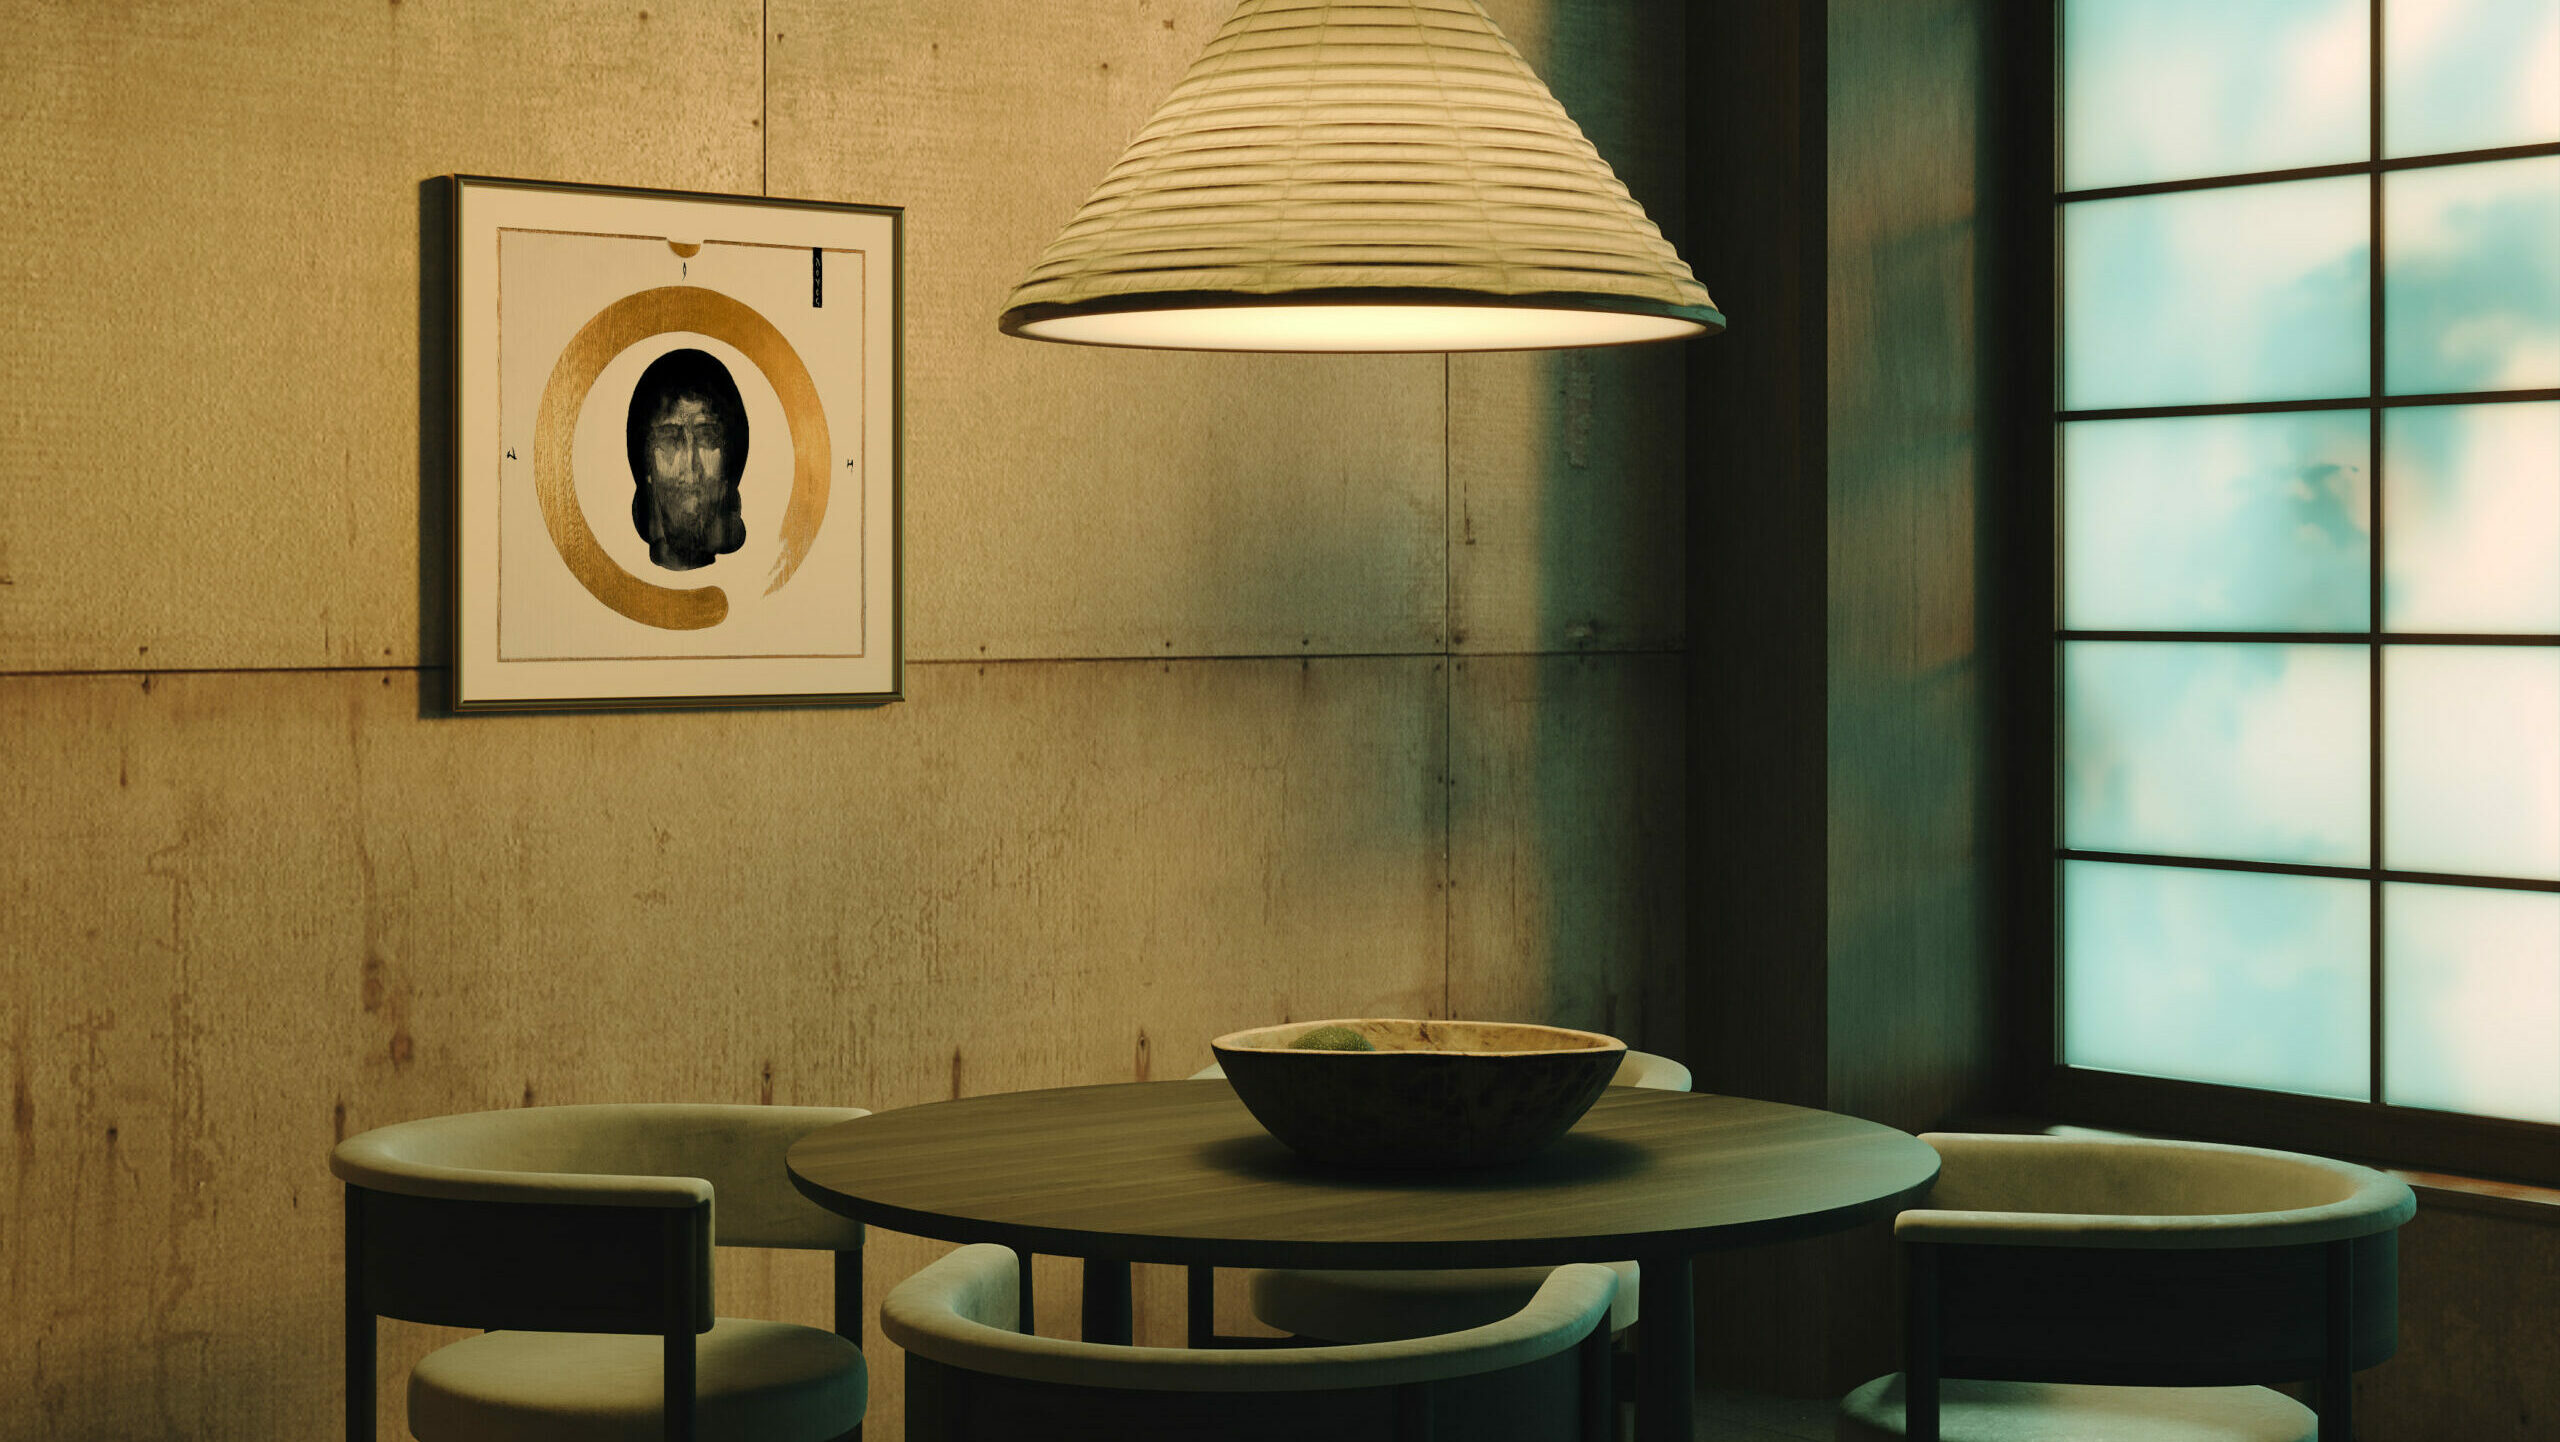
One of the most beautiful stages is gilding. It is worth saying at once that it is not a mandatory element. Many magnificent icons have been created without gold, or with other metals such as silver or copper. Gold, however, holds particular symbolic significance. It is a metal that does not corrode, valued by people across the world for its properties and rarity. In iconography, it symbolises Divine light, which is why it so often appears in the background of icons, in halos, and in the details of garments.
Today there are many gilding techniques, and the art of gilding itself requires considerable knowledge and experience. In traditional iconography, we most often employ two methods. The first is oil mordant gilding, easier to apply, though limiting in terms of the final appearance of the gilded surface. The second is water gilding over bole, far more difficult, but allowing for varying degrees of burnish, from a gentle matte to a high, mirror-like lustre.
For water gilding, we apply several layers of bole, a red clay mixed with glue that helps the gold adhere to the surface. We then moisten the bole with alcohol and carefully lay down the gold leaves. The next step is burnishing with an agate stone, until the gold begins to gleam. This is the moment when the icon takes on its sacred radiance.
Anyone who has tried gilding knows how fragile and capricious gold can be. Sometimes a careless breath is enough to blow away a delicate leaf. But it is precisely in this fragility that the essence of gilding resides. It demands the same mindfulness and gentleness that the entire process of icon painting teaches.
.
Preparing the Paint
.
In traditional iconography, we use egg tempera, a painting medium of remarkable durability. A well-executed icon painted in egg tempera can survive for hundreds of years, preserving the intensity of its colours.
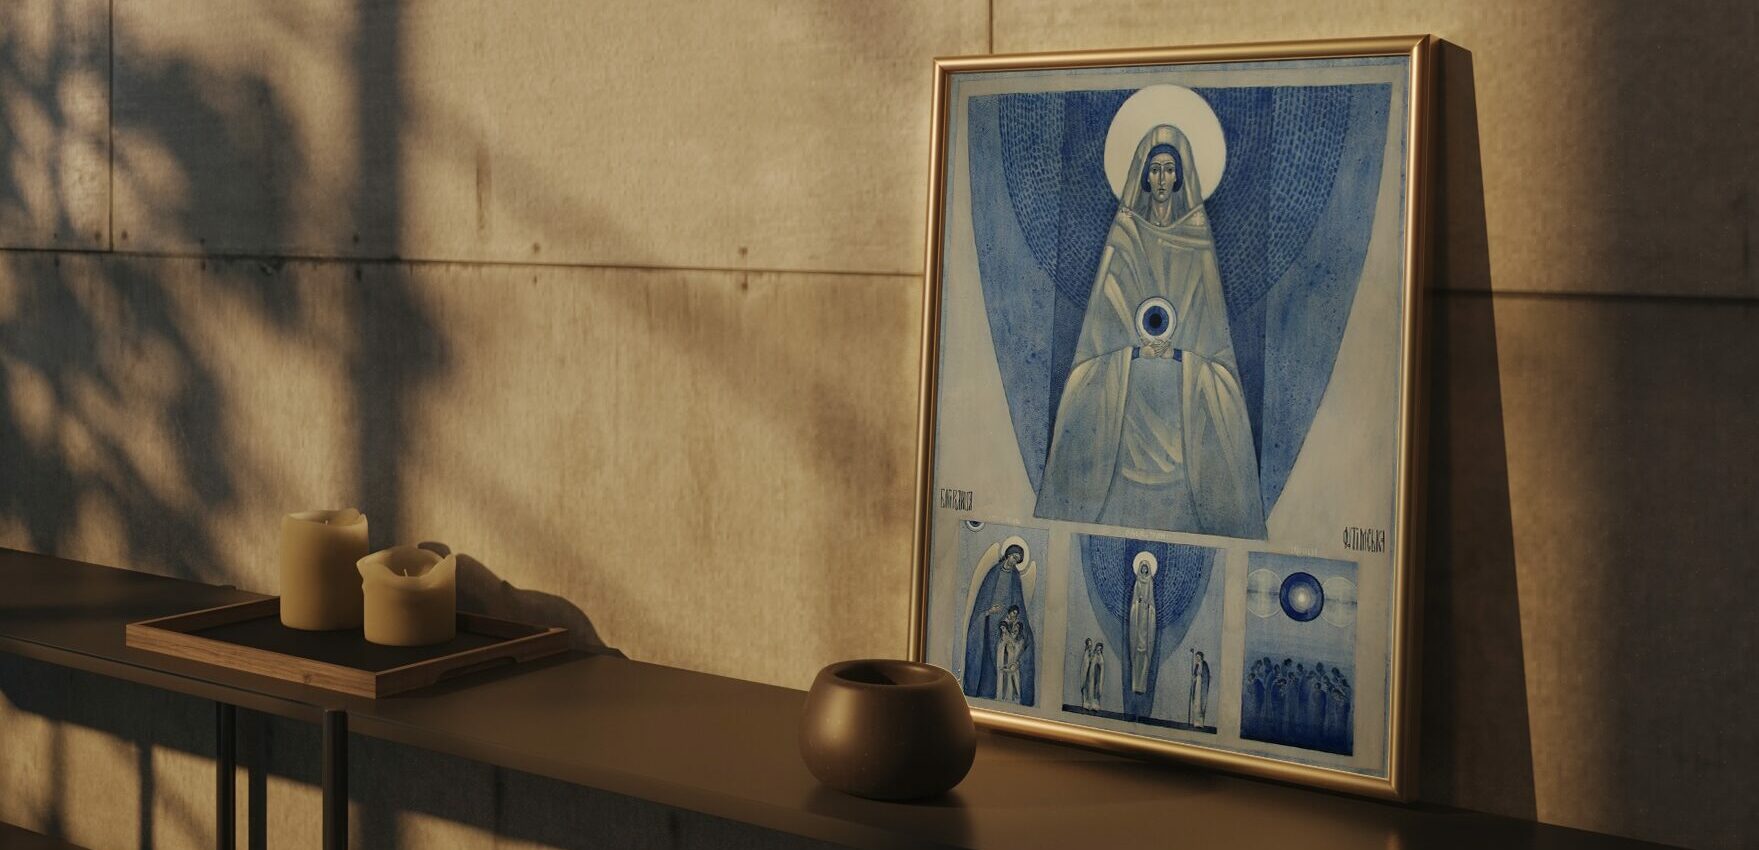
Preparing the paint is a process in itself. We make the emulsion from the yolk of a hen’s egg mixed with a small amount of wine or beer, with the addition of vinegar or a drop of clove oil, which prevents the binder from spoiling quickly. We dilute the emulsion with water, adjusting the consistency according to the needs of each stage of work. To this prepared binder, we add pigments: natural minerals, metal oxides, and sometimes powdered precious stones. One of the most famous is lapis lazuli, from which the noblest shade of blue has been derived for centuries.
The pigments must first be carefully ground in a mortar or on a glass slab with a muller. This seemingly simple process produces finer particles and an even consistency, thanks to which egg tempera adheres beautifully to the ground and creates smooth, uniform layers.
Unlike oil paints, egg tempera dries very quickly, demanding precision and a confident hand from the iconographer. Once dry, the layers become matte and velvety, and the intensity of colour depends on the number of layers applied. This multilayered quality is one of the defining characteristics of the technique. Each layer of paint is semi-transparent, allowing for the gradual, contemplative building of an effect of inner light.
.
From Darkness to Light
.
In icons, we paint according to a principle that is at once technique and metaphor: from darkness to light. We begin the process with deep, dark underlayers, which we gradually brighten with successive, ever-lighter layers of paint. Through this, the icon acquires depth, luminosity, and that particular aura which makes the figures seem to radiate with an inner light.
This principle carries profound symbolism. The icon emerges from darkness just as silence emerges from noise, just as presence reveals itself when the layers of distraction fall away. The icon does not depict a realistically lit scene. There is no single light source within it; we do not use chiaroscuro. Every element of the icon radiates from within, as though it were itself a source of light, as though it revealed a reality not subject to the laws of ordinary seeing.
In practical terms, we begin by covering all surfaces with a base colour. The white levkas is very bright and can distort the perception of applied tones, so it is important to neutralise its intensity first. We then develop the successive elements: the background, the garments, the architectural details. At the very end, when the entire surrounding of the figure is complete, comes the most demanding and intimate moment. We model the face with light.
...
Inscriptions and Varnish
.
An icon is not complete without inscriptions identifying the holy figures. We add them at the final stage of work, after the painted layers have dried, but before varnishing. We use fine brushes with precise bristles, preferably sable or synthetic, allowing full control over the delicate lines.
The inscriptions must be harmoniously integrated into the composition and must not disturb the balance of the image. They are most often placed in the upper part of the icon or beside the heads of saints, in the form of abbreviated names in Greek, Church Slavonic, or Latin.
Protecting the icon is a stage that requires particular patience. Varnishing can only be carried out after the egg tempera has completely dried, which takes from several weeks to several months, depending on environmental conditions. The traditional rule holds that an icon should “mature” for at least six months before being sealed, because the natural pigments and egg binder achieve their full stability over time.
In the past, icons were protected with olifa, a special mixture of linseed oil and resin that penetrated the tempera layers, saturated the colours, and lent them a delicate transparency, drawing out the depth of the hues. This method had its drawbacks, however. Poorly prepared or too generously applied olifa could cause yellowing, and the icon’s surface would remain tacky for a long time.
Today, iconographers increasingly reach for synthetic varnishes in matte, semi-matte, or glossy finishes, which provide protection against moisture, dust, and UV rays. Modern preparations allow the icon to be sealed after just a few weeks, yet in the traditional approach, we still recommend patience. The longer an icon matures before varnishing, the better it will preserve its colours and durability across the years.
.

An Art That Teaches Presence
.
For me, painting an icon is something far greater than creating an image. It is the union of the precision of craft with an inner practice of presence that permeates every stage of the work. From the silence before the first brushstroke, through the patient application of levkas, the gentleness of gilding, the contemplative building of egg tempera layers, to the final inscription and varnish. Each of these stages teaches something that transcends technique itself. It teaches patience, mindfulness, and humility before a process that holds its own wisdom.
If you would like to see the icons created in my studio, I invite you to my virtual gallery. And if the art of icon painting awakens something more than curiosity in you, if you feel you would like to try this path yourself, write to me. I lead workshops and consultations in which I share both technical knowledge and that which no article can convey.
Leave A Comment